Adding a store locator to WordPress
- Download the plug in:
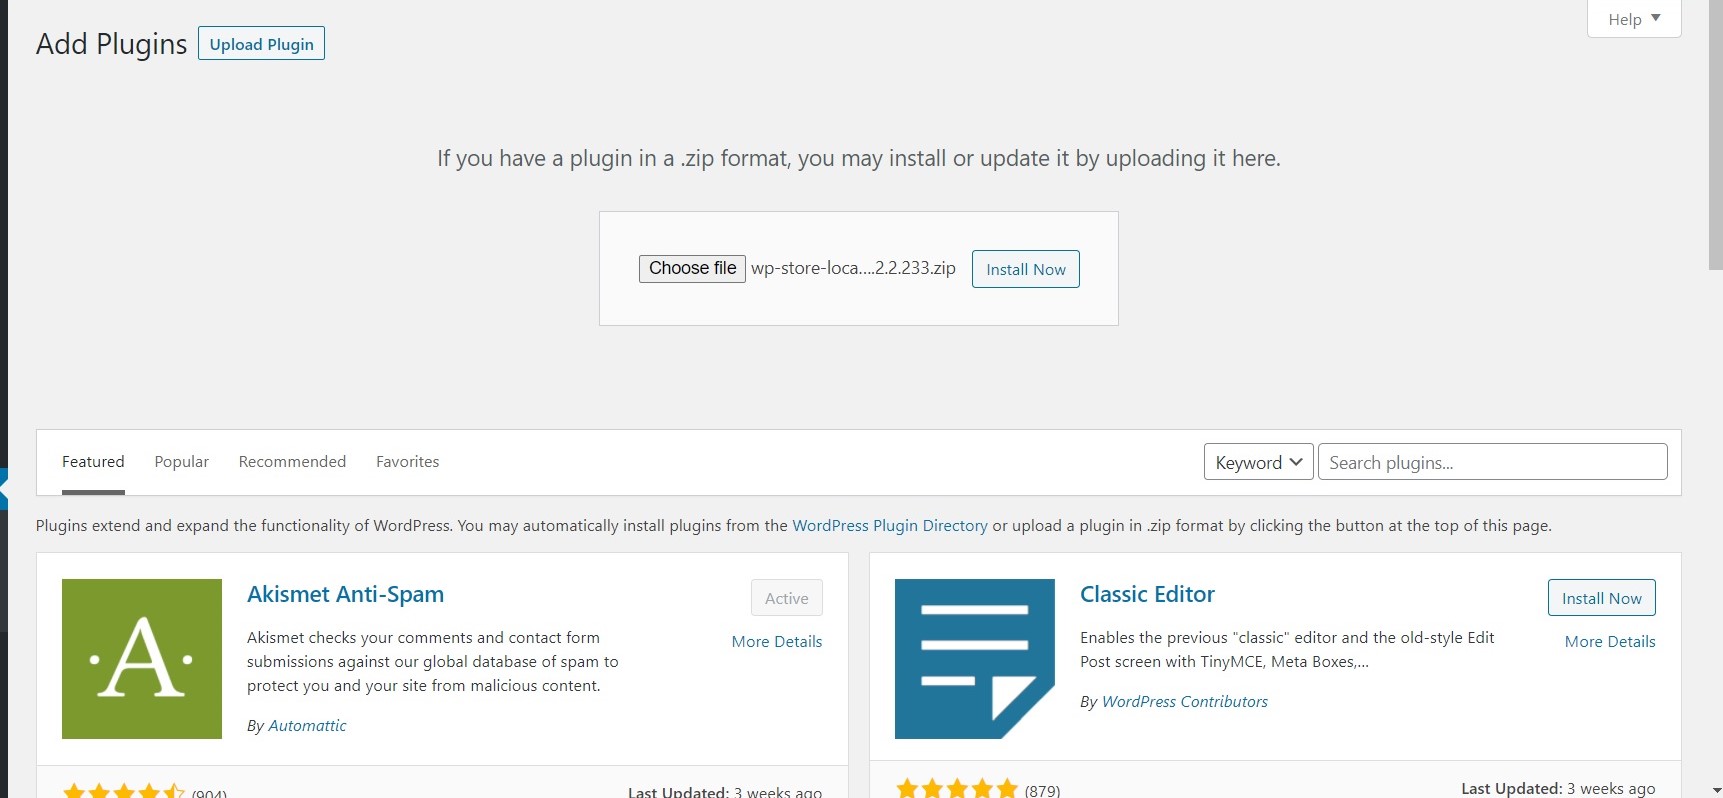
- Upload the plug in to your WordPress site
Dashboard>Plug ins
Add New
Choose the file from your computer
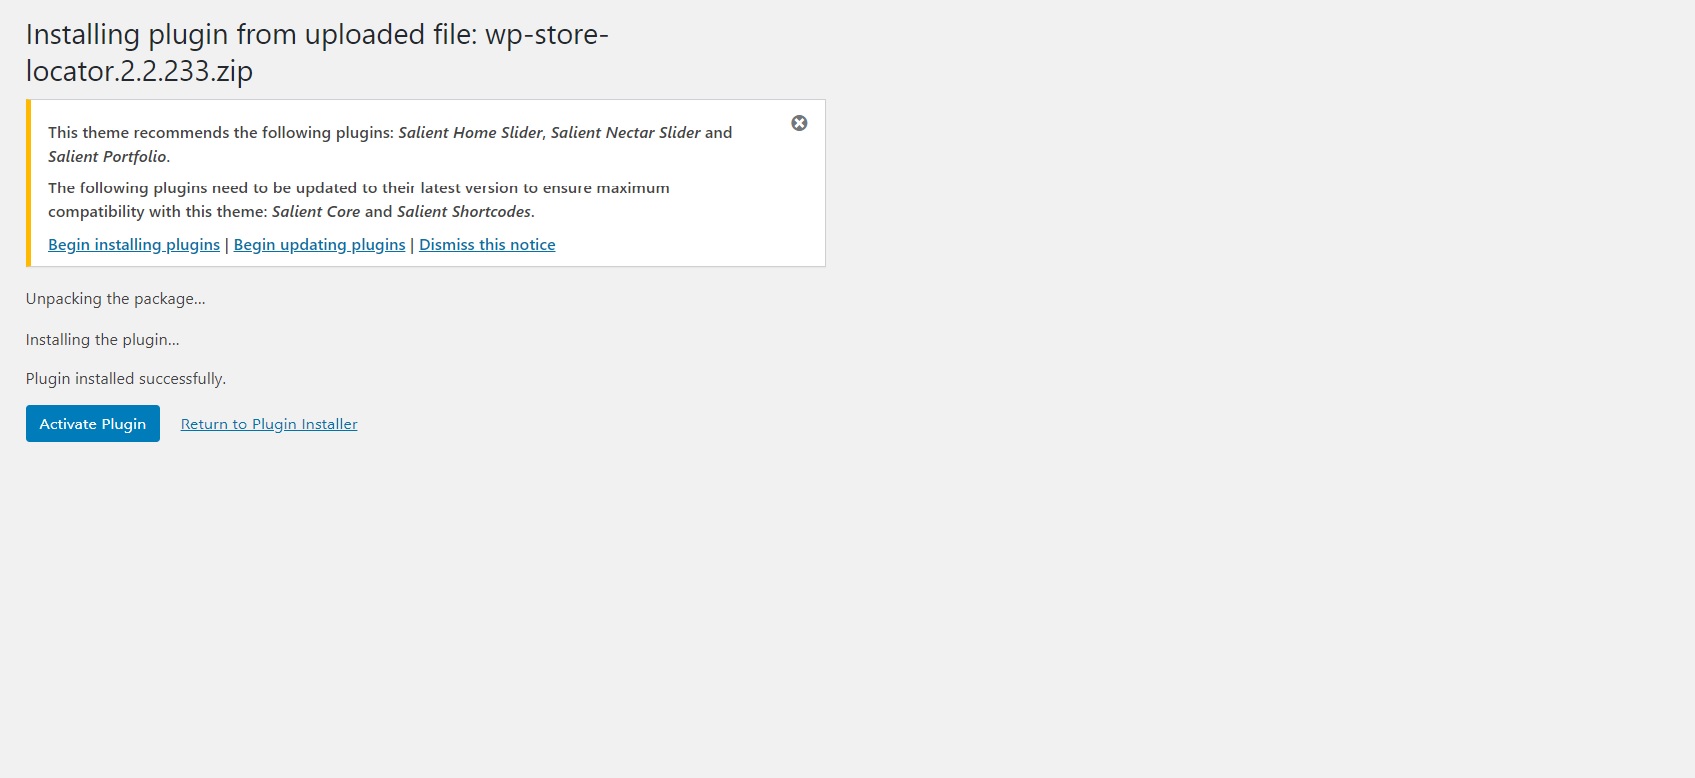
- Activate the plug in
Click the Activate Plug in button

- Create a Google Maps API key
Instructions for creating a Google API key can be found here. This can be quite a technical step for the novice. So if you need help contact us.
- Adjust the settings
Dashboard>Store Locator>Settings
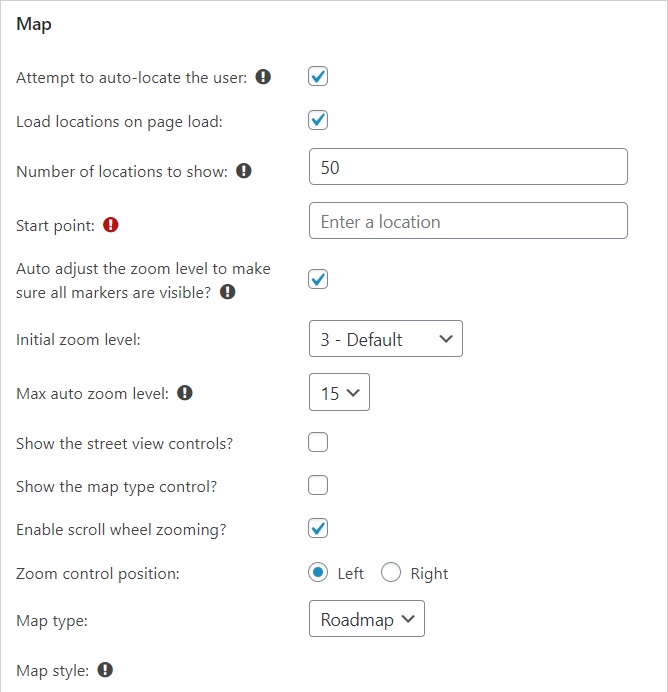
For a quick start, most of the default settings will be fine for your store locator and you can always test, come back and adjust them later.
The is only 1 setting that you must change and that is “Start Point” under “Map” settings. You can select a country, state, town – whatever you wish. Click “Save Changes” when you are done.
- Start adding stores
Dashboard>Store Locator>New Store
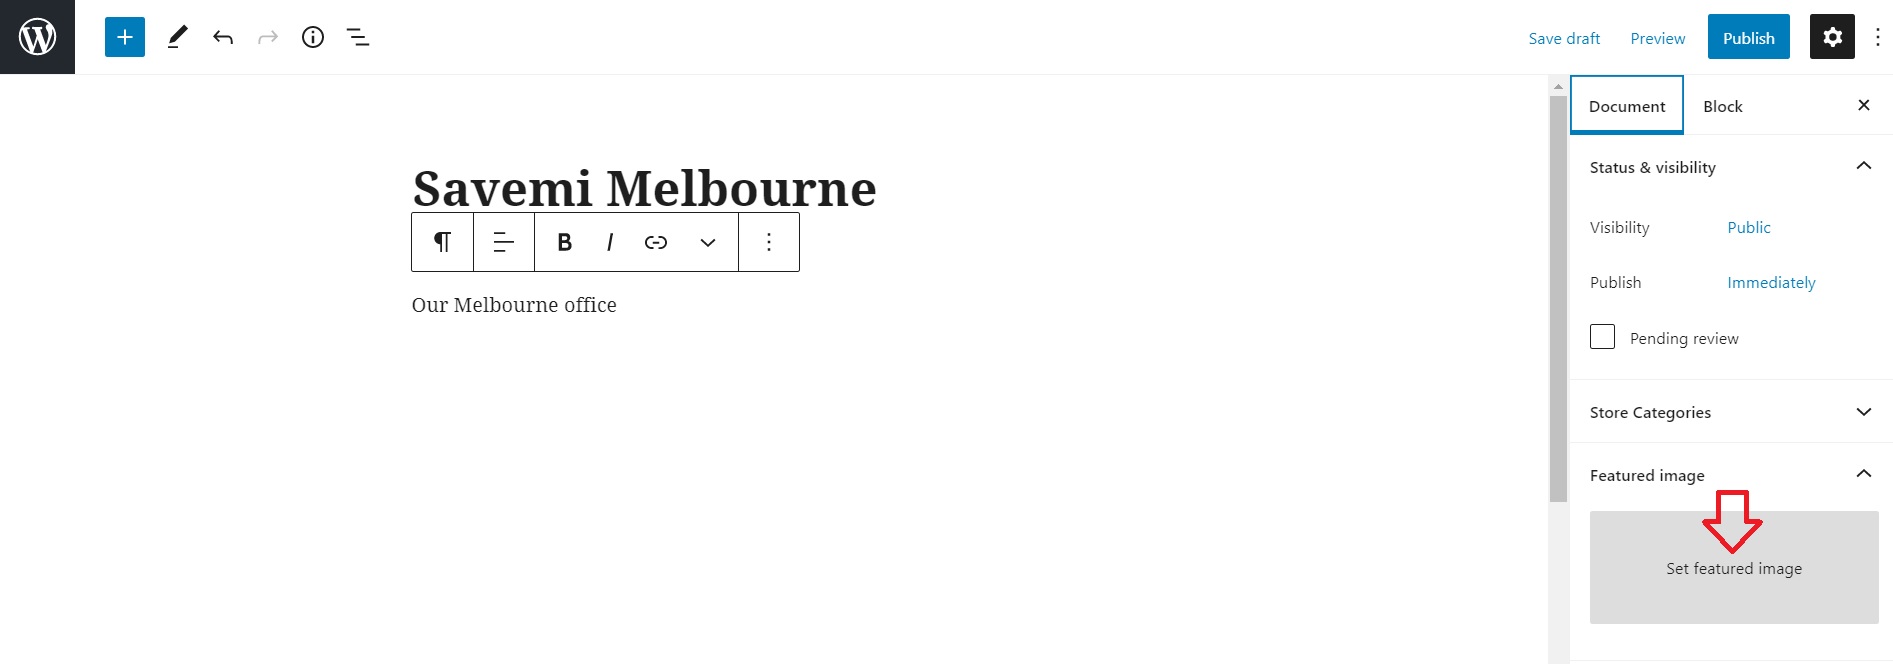
Adding the title and description is no different to any other WordPress post/page.
Featured Image is a bit tricky. Make sure you upload a perfectly square image for it to be viewed correctly on the front end.
Scroll down to add Store Details. If you add your address in correctly, Google Maps should automatically pick up its location and display it on the map. If this doesnt go to plan, you can add in the latitde and longitude – which can be copied and pasted from Google maps.
One you have finished adding in all of the detail, click Publish.
Continue adding stores using the above steps. - Adding the store locator to a page/post
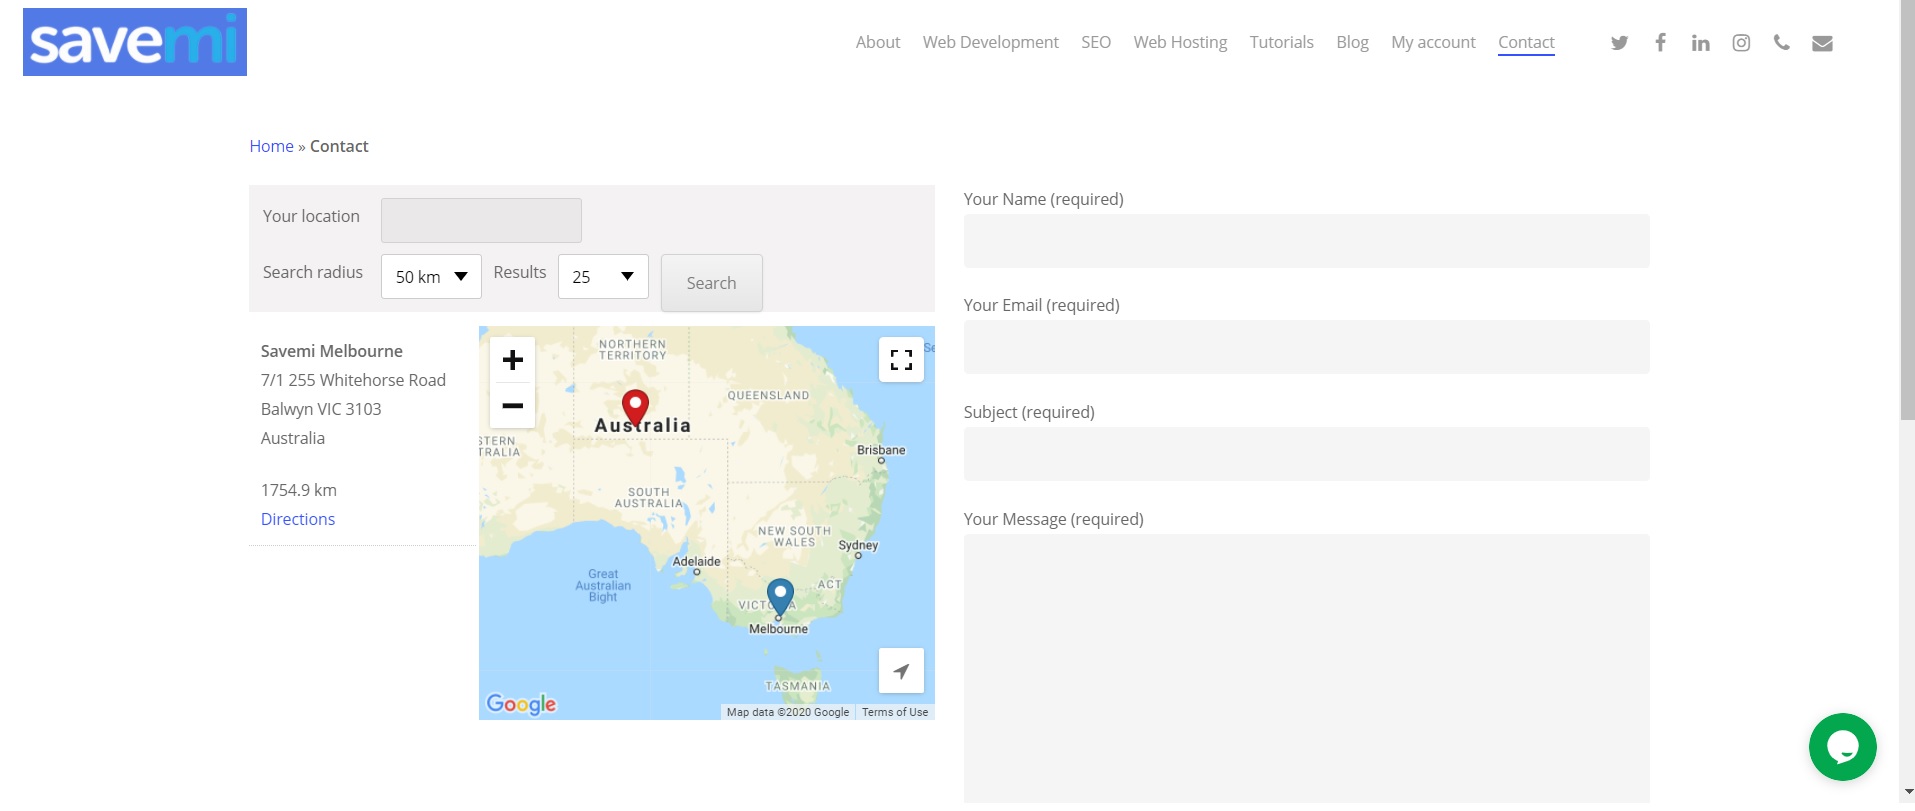
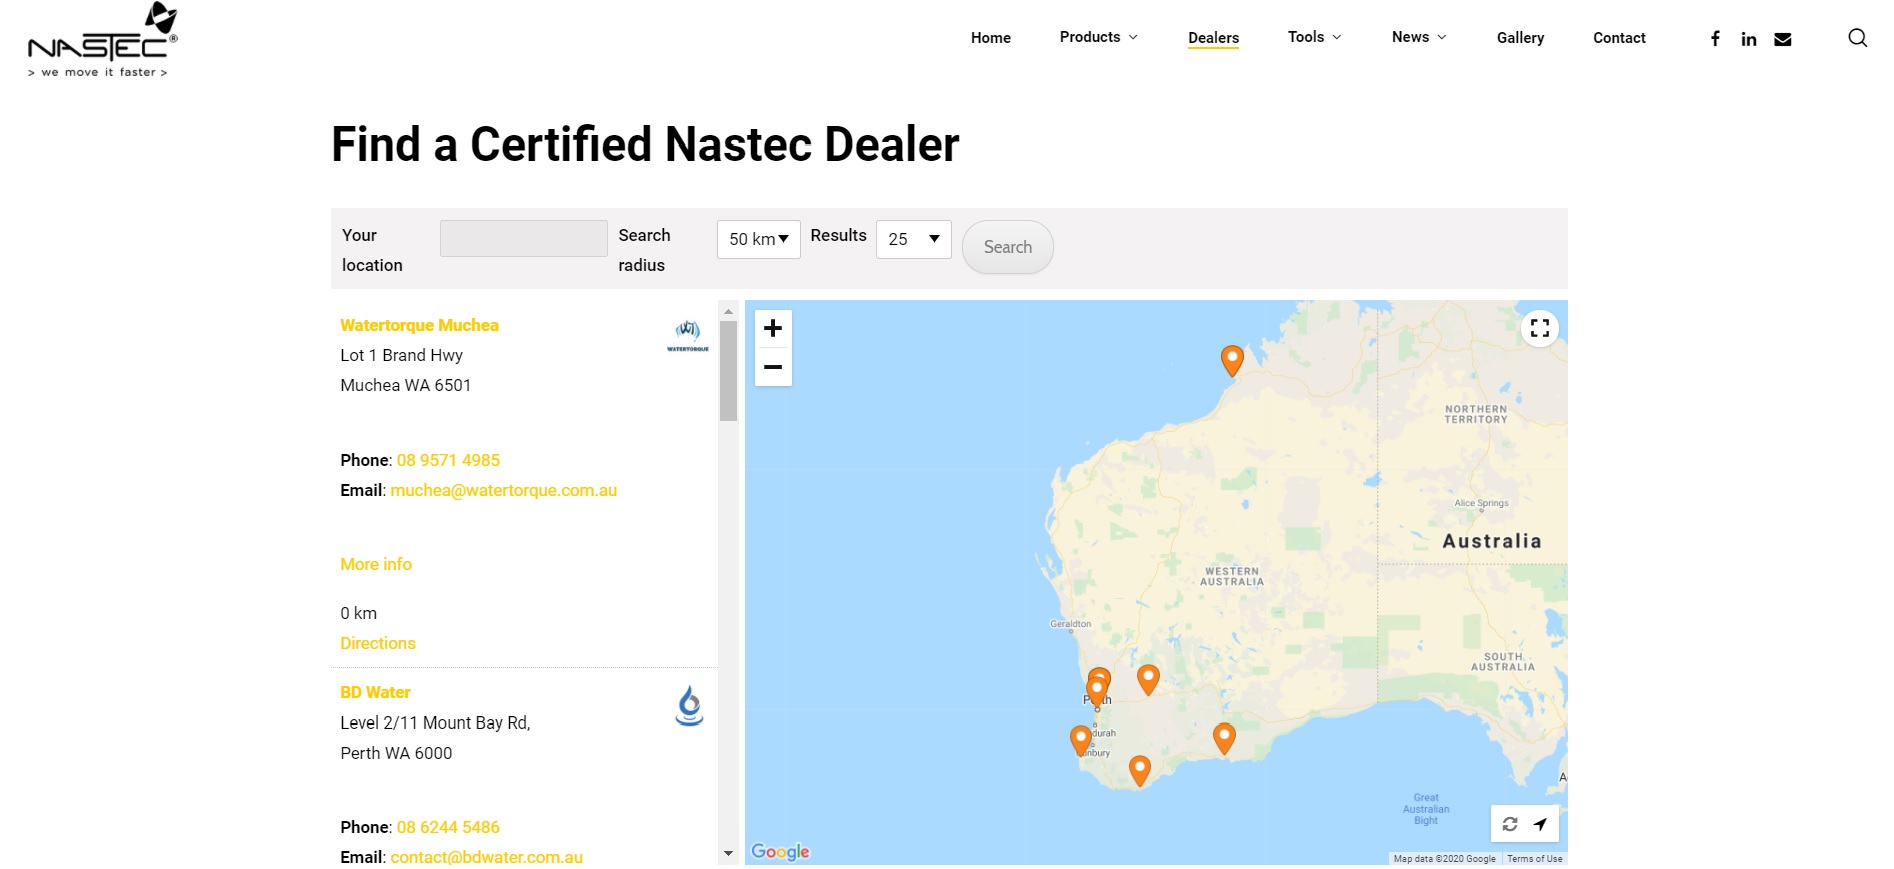
The beauty of this plug in is that you can use the shortcode [wpsl] to put it anywhere on your site. In this example we have placed it on the left hand side of our contact page.


